Create Launch Template for the NAT Instance
As mentioned earlier, the NAT instance will be set up in an Auto-Scaling Group. Therefore, we need to create a launch template for launching the NAT instance later.
-
Open the EC2 console (opens in a new tab).
-
In the sidebar, choose Instances > Launch Templates.
-
Choose Create launch template.
-
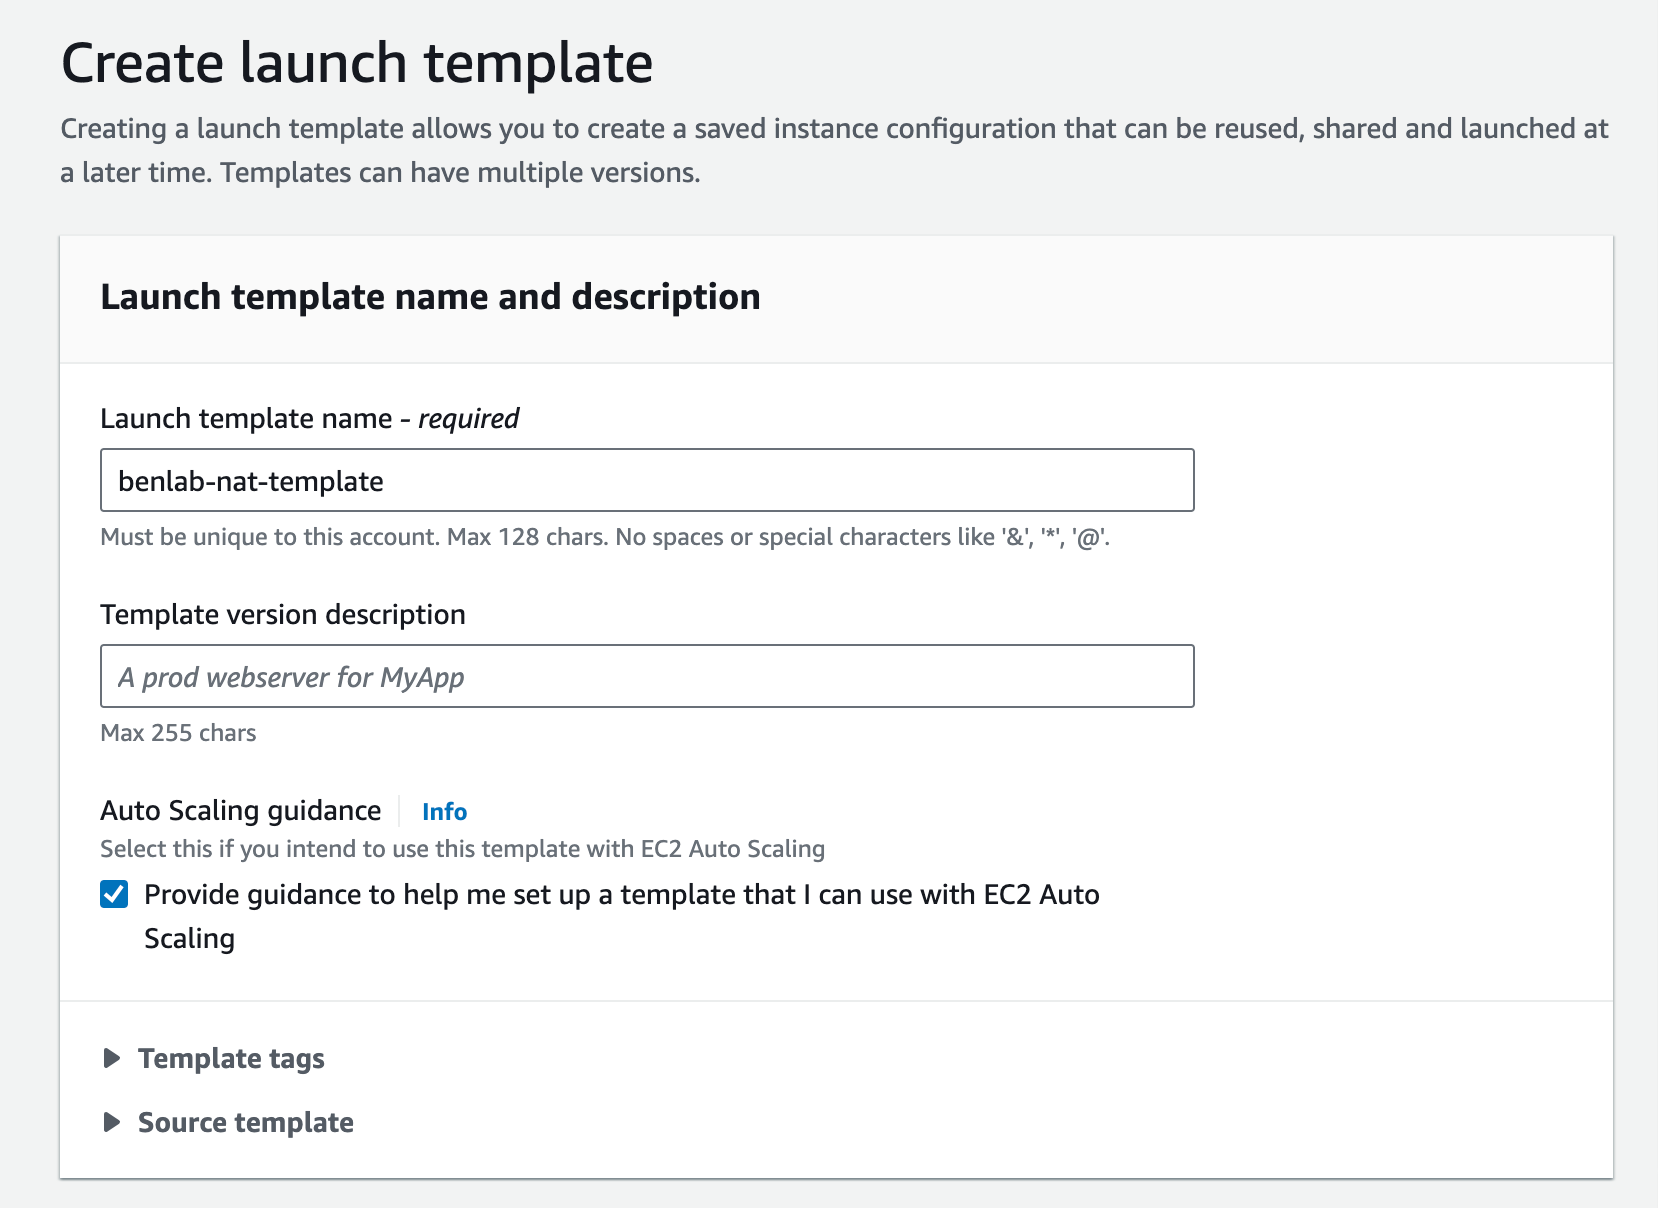
In the Create launch template wizard, enter Launch template name and tick the checkbox for Auto Scaling guidance.
-
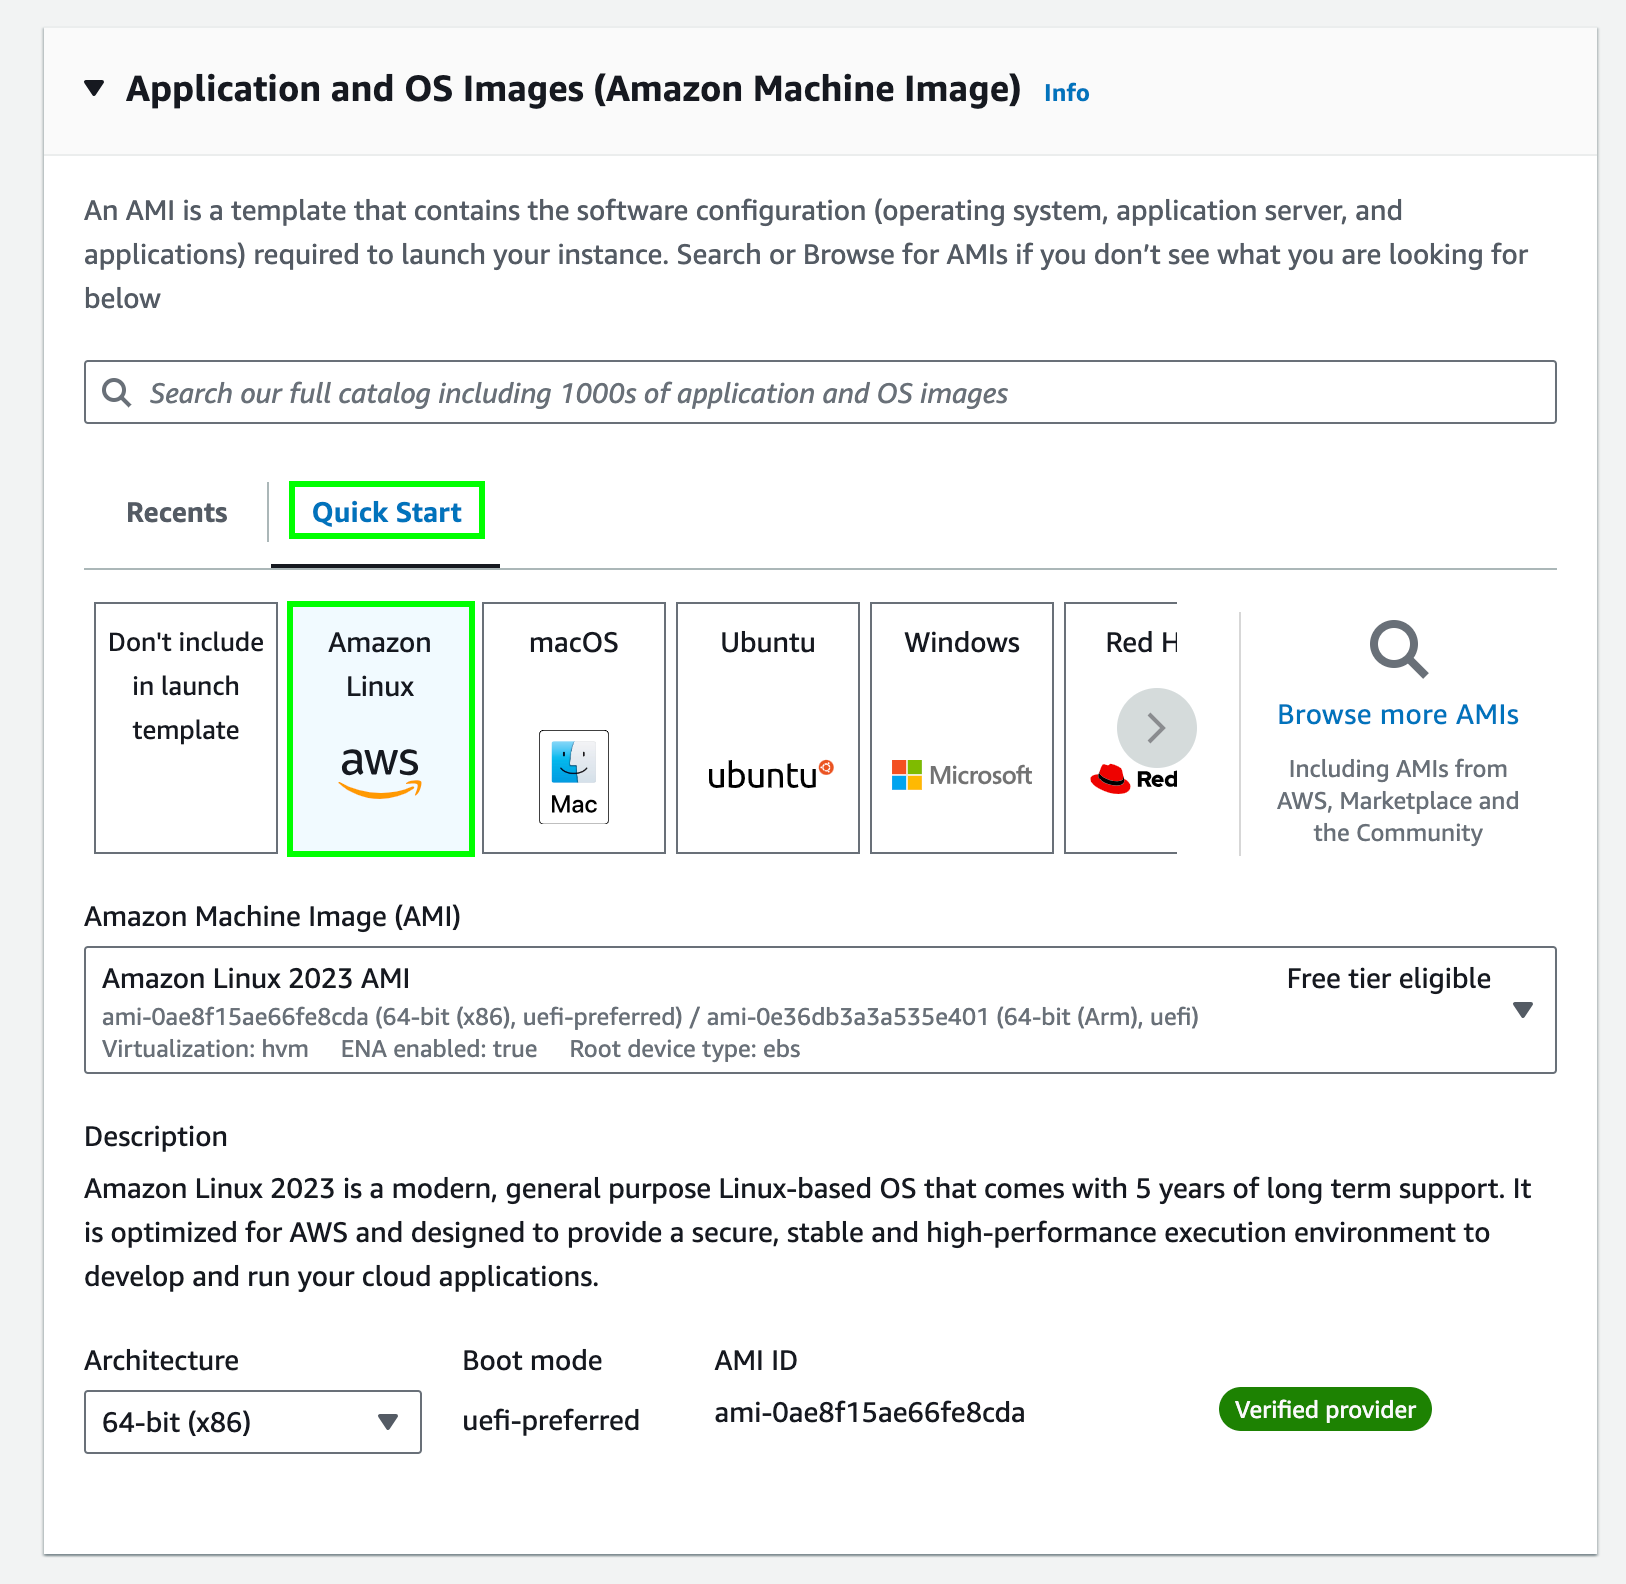
In Application and OS Images (Amazon Machine Image) section, choose Quick Start and select the latest Amazon Linux 2023 AMI.
-
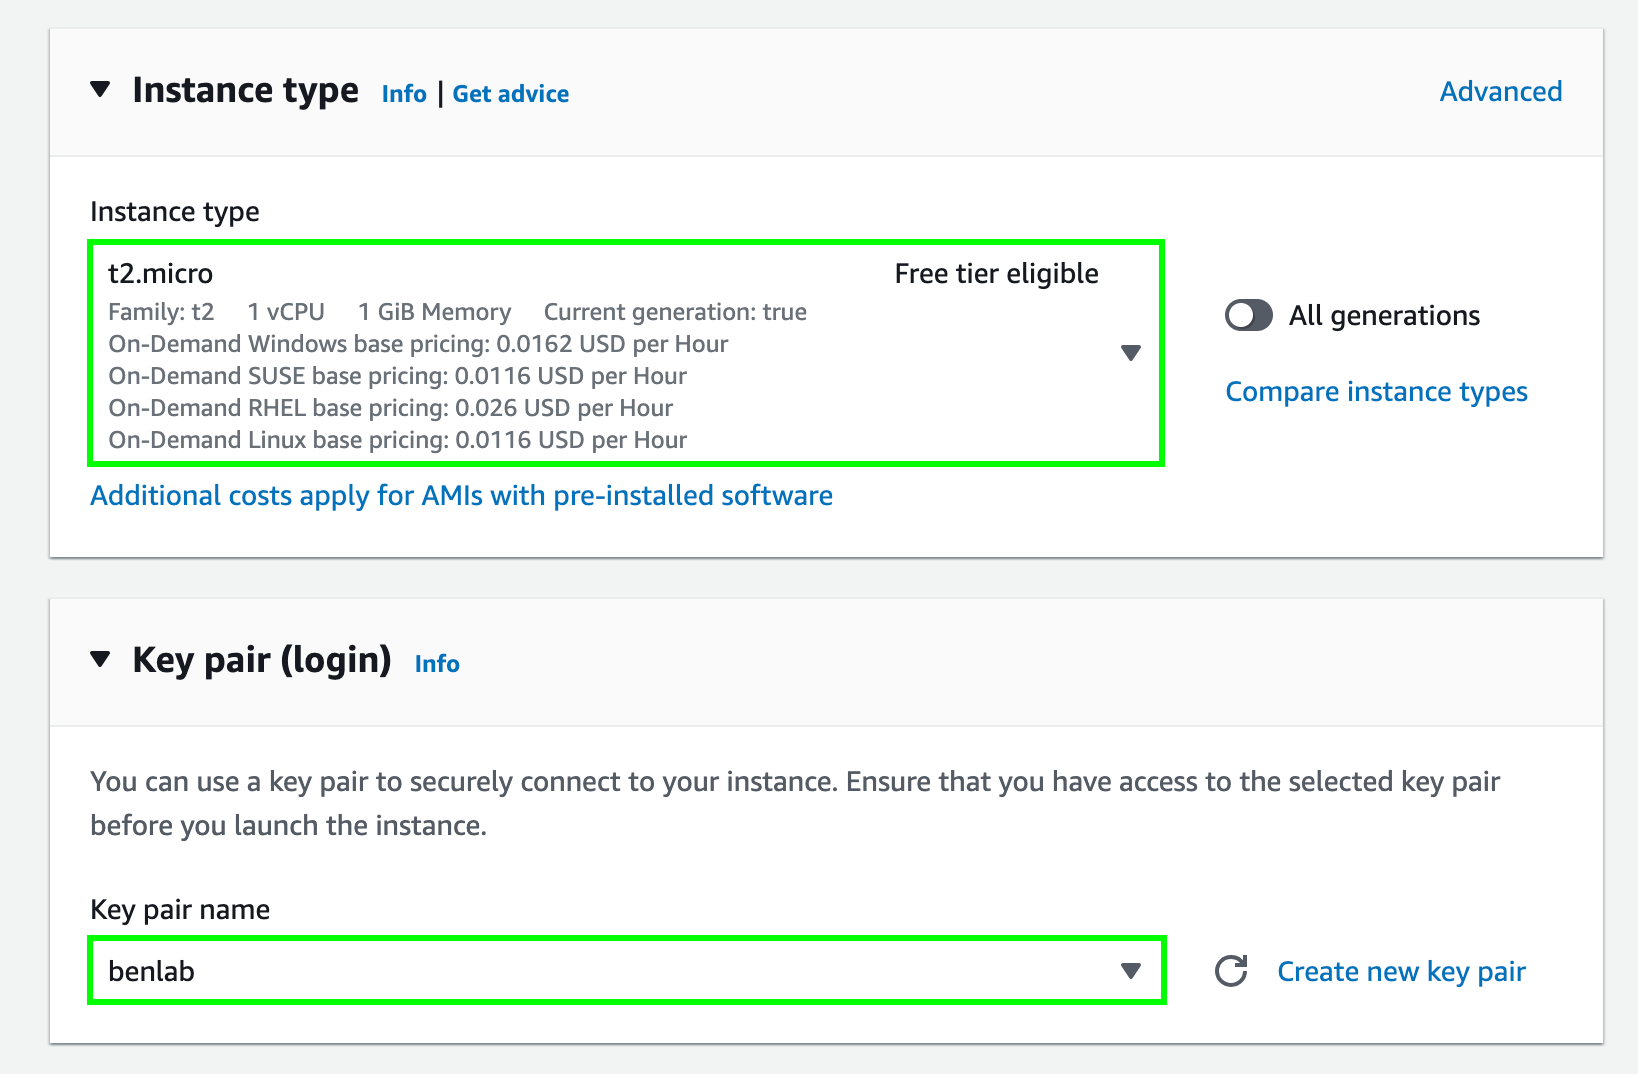
Choose
t2.microas Instance type, which is eligible for the AWS Free Tier (opens in a new tab). You can choose a different instance type based on your system requirements. -
Choose the Key pair for connecting to the NAT instance later. If you don't have a key pair, you can create one by choosing Create new key pair.
-
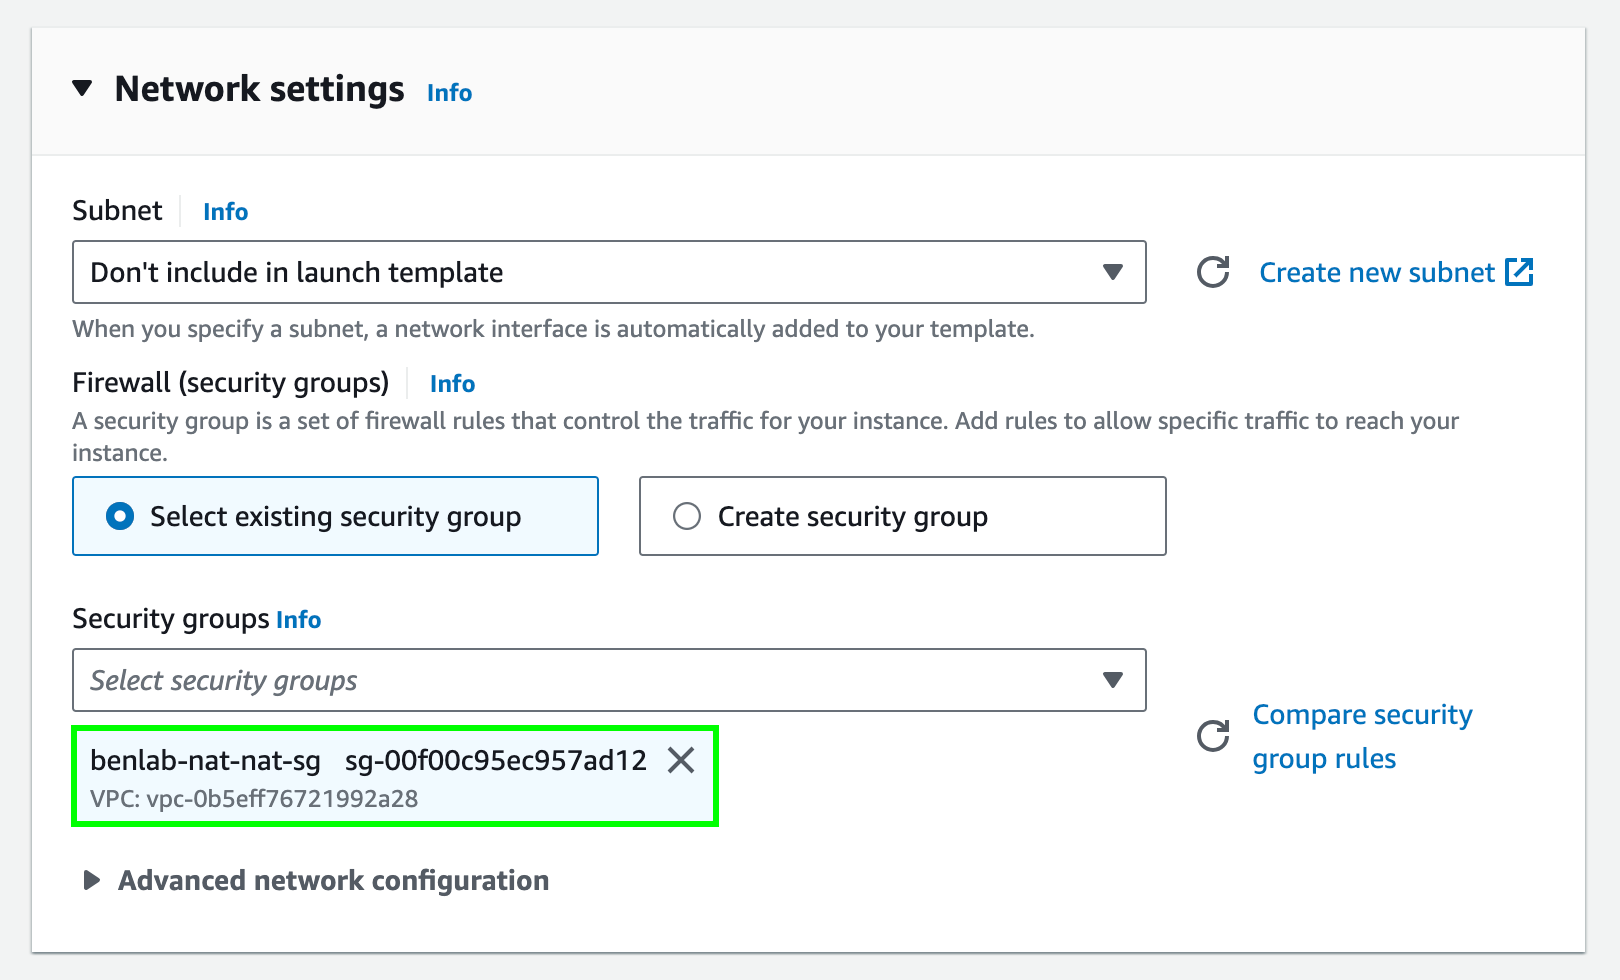
In the Network settings, choose the Security group you created earlier for the NAT instance.
-
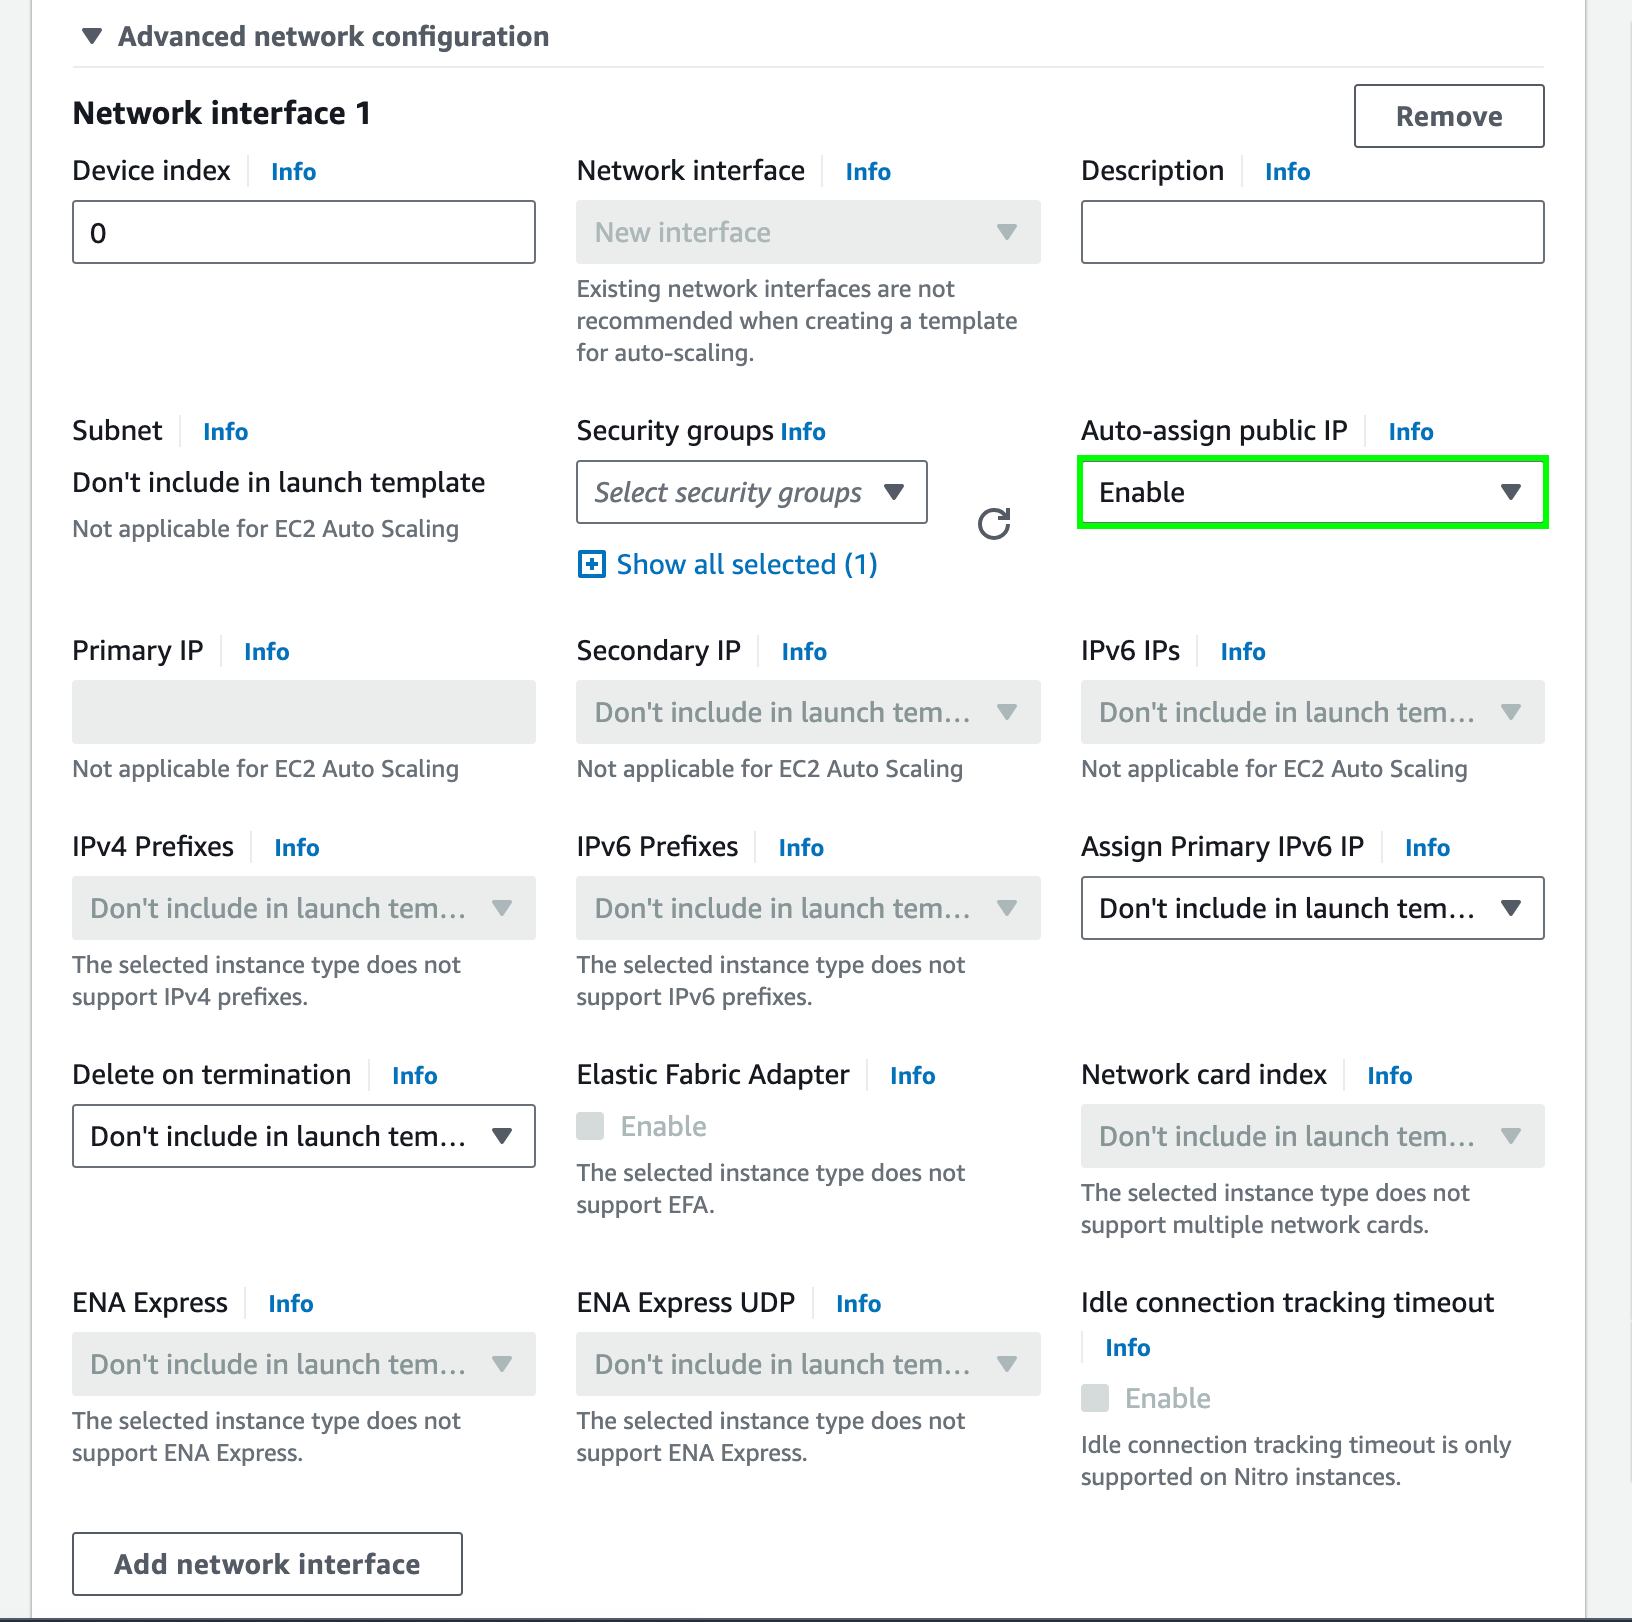
In Advanced network configuration, choose Add network interface and enable Auto-assign public IP.
-
In Advanced details section, choose the IAM role you created in the previous step as the IAM instance profile.

-
Copy the following script and paste it in the User data section. This script will attach the ENI to the instance, disable source/destination check, install and configure iptables for NAT.
#!/bin/bash
yum update -y

# Get the instance ID
TOKEN=$(curl -X PUT http://169.254.169.254/latest/api/token -H "X-aws-ec2-metadata-token-ttl-seconds: 21600")
INSTANCE_ID=$(curl http://169.254.169.254/latest/meta-data/instance-id -H "X-aws-ec2-metadata-token: $TOKEN")

# Attach the ENI to the instance
ENI_ID=$(aws ec2 describe-network-interfaces --filters "Name=tag:Name,Values=nat-eni" --query 'NetworkInterfaces[*].NetworkInterfaceId' --output text)
aws ec2 attach-network-interface --network-interface-id ${ENI_ID} --instance-id $INSTANCE_ID --device-index 1

# Disable source/destination check for two interfaces of the instance
ENI_IDS=$(aws ec2 describe-instances --instance-ids $INSTANCE_ID --query "Reservations[*].Instances[*].NetworkInterfaces[*].NetworkInterfaceId" --output text)
for ENI_ID in $ENI_IDS; do
    aws ec2 modify-network-interface-attribute --network-interface-id $ENI_ID --no-source-dest-check
done

# Install iptables, enable IP forwarding, and configure iptables
yum install iptables-services -y
systemctl enable iptables
systemctl start iptables
echo "net.ipv4.ip_forward = 1" > /etc/sysctl.d/custom-ip-forwarding.conf
sysctl -p /etc/sysctl.d/custom-ip-forwarding.conf
/sbin/iptables -t nat -A POSTROUTING -o enX0 -j MASQUERADE
/sbin/iptables -F FORWARD
service iptables saveIMPORTANT: If in the step 5. Create an ENI, you used a different value for the Name tag, replace
nat-eniwith the value you used in line 9.
- Choose Create launch template.